Getting Started
Hunea is currently in alpha. Later updates do not promise data migrations. Most releases will be intentionally breaking so the early project can stay clean and accurate instead of carrying historical baggage. Do not store important chat data here (you can always export manually — data lives under the standard ~/.config/hunea/ directory) unless you accept the risk of loss or incompatibility.
Install with npm. Important: you currently need:
to get the alpha build. Do not use:
That installs an older package instead.
-gmeans a global install so you can run Hunea from any path (assuming permissions andPATHare correct — ifnpmworks, this usually works too). If you are not sure what npm is, start with Slow Start.
Hunea is still under active development with no stable release yet. Most energy has gone into making the TUI stable, fast, polished, and easy to use. Features only landed more recently, after that usability and performance foundation felt solid enough.
On Windows, prefer the built-in Terminal app (a bash environment helps; Windows has not been specifically optimized yet, so PowerShell / cmd compatibility is unclear). On macOS, prefer modern terminal emulators such as kitty or Ghostty over the stock Terminal.app (the cx theme still has some styling issues there). Linux users can use whatever they like; modern emulators still tend to look and feel best.
Launch
After install, create a sensible working directory and start with hunea in a terminal. On first launch, if rg isn't on PATH and isn't present under Hunea's data directory (~/.config/hunea/), you will be asked whether to download it:
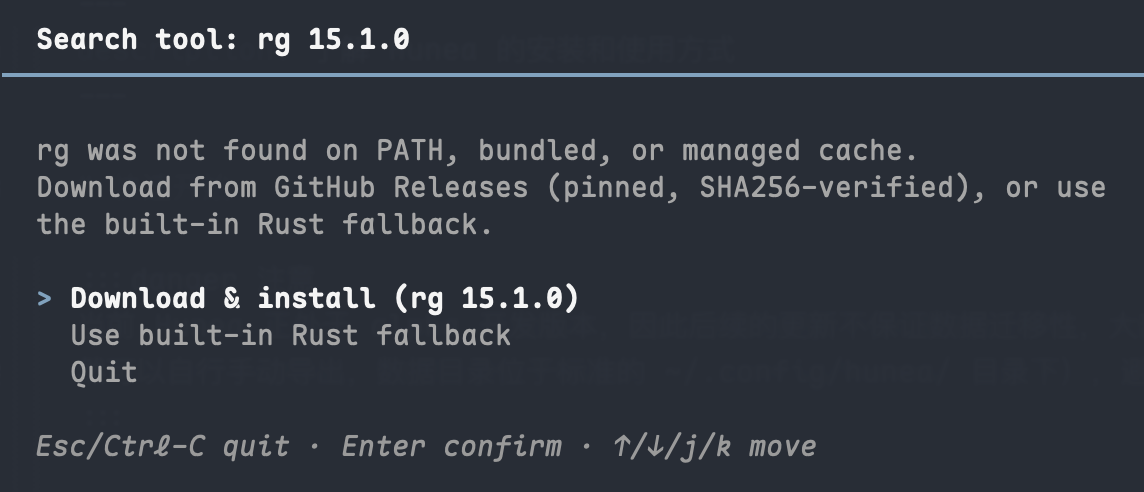
Prefer downloading and using rg over the built-in fallback.
Skip only if you are offline and cannot place the
rgbinary yourself under~/.config/hunea/bin/.
Search tools like find use the built-in Rust backend and don't require a separate fd install.
Why not other tools? Still evaluating — alternatives may come later.
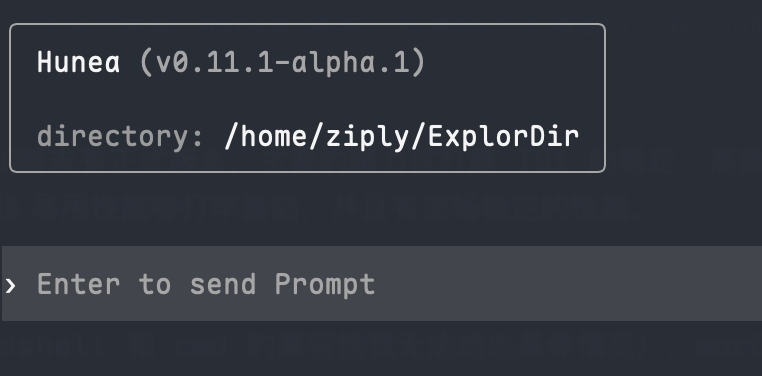
If nothing goes wrong, once the tools are ready Hunea starts into the TUI:
Configure providers and models
Create a models.toml either under ~/.config/hunea/ or under .hunea/ in the current workspace.
The first is global; the second is workspace-scoped and wins when both exist. Unless you have a special reason, prefer the global file so model choice and provider config still work after switching workspaces.
models.toml is documented below (not every line is guaranteed perfect — prefer the later examples):
A ready-to-edit example (create the file, then paste and adjust):
For complete models.toml field documentation, context window configuration, see models.toml; for config.toml / phrases.toml, see the Configuration overview.
After configuring, restart Hunea and run /models to open the model picker:
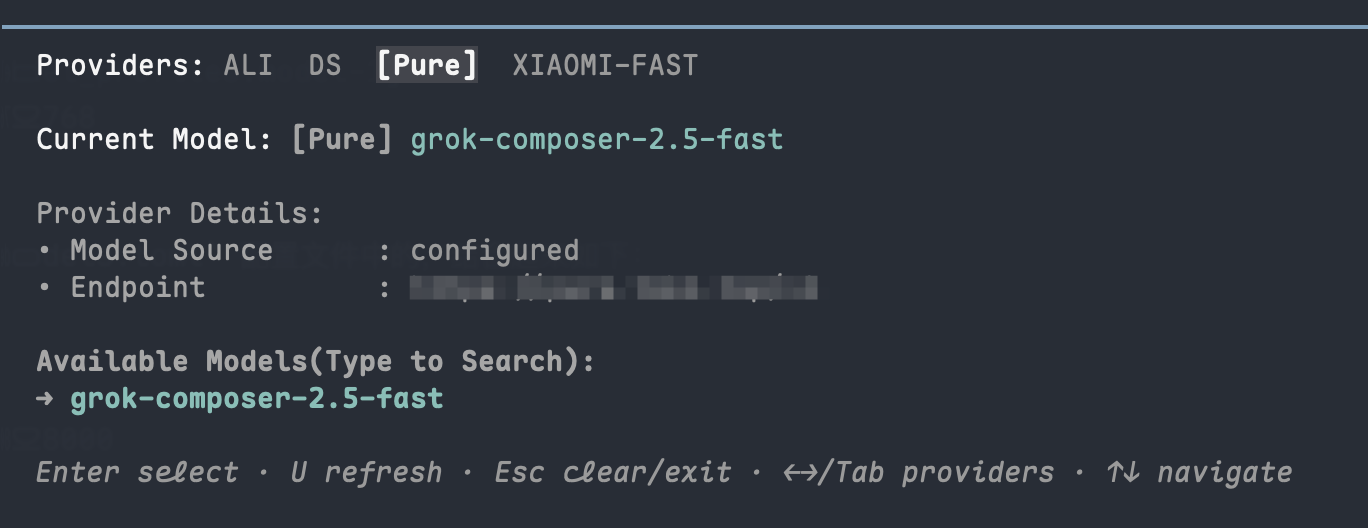
Highlight a model and press Enter to start chatting.
Recommended Configuration
For config.toml, you generally don't need much configuration — the defaults work for most use cases. For complete field documentation, see config.toml.
My personal configuration:
I stick with the built-in phrases for phrases.toml myself; complete examples and documentation are in phrases.toml.
Next steps
At this point, installation, launch, and basic configuration are enough to start using Hunea. To learn more, read according to your needs:
- Configuration: complete documentation for
models.toml/config.toml/phrases.toml - Slash Menu: built-in commands and session-related interactions
- Tools & Approval: tools the Agent can call, and operations that require approval
- Skills & Instruction Files: how
@skill,AGENTS.md/CLAUDE.mdparticipate in prompt assembly - Keyboard Shortcuts: common keys for the main interface, input box, and overlays
- Design & Trade-offs: design explanations for altscreen, composer, and more